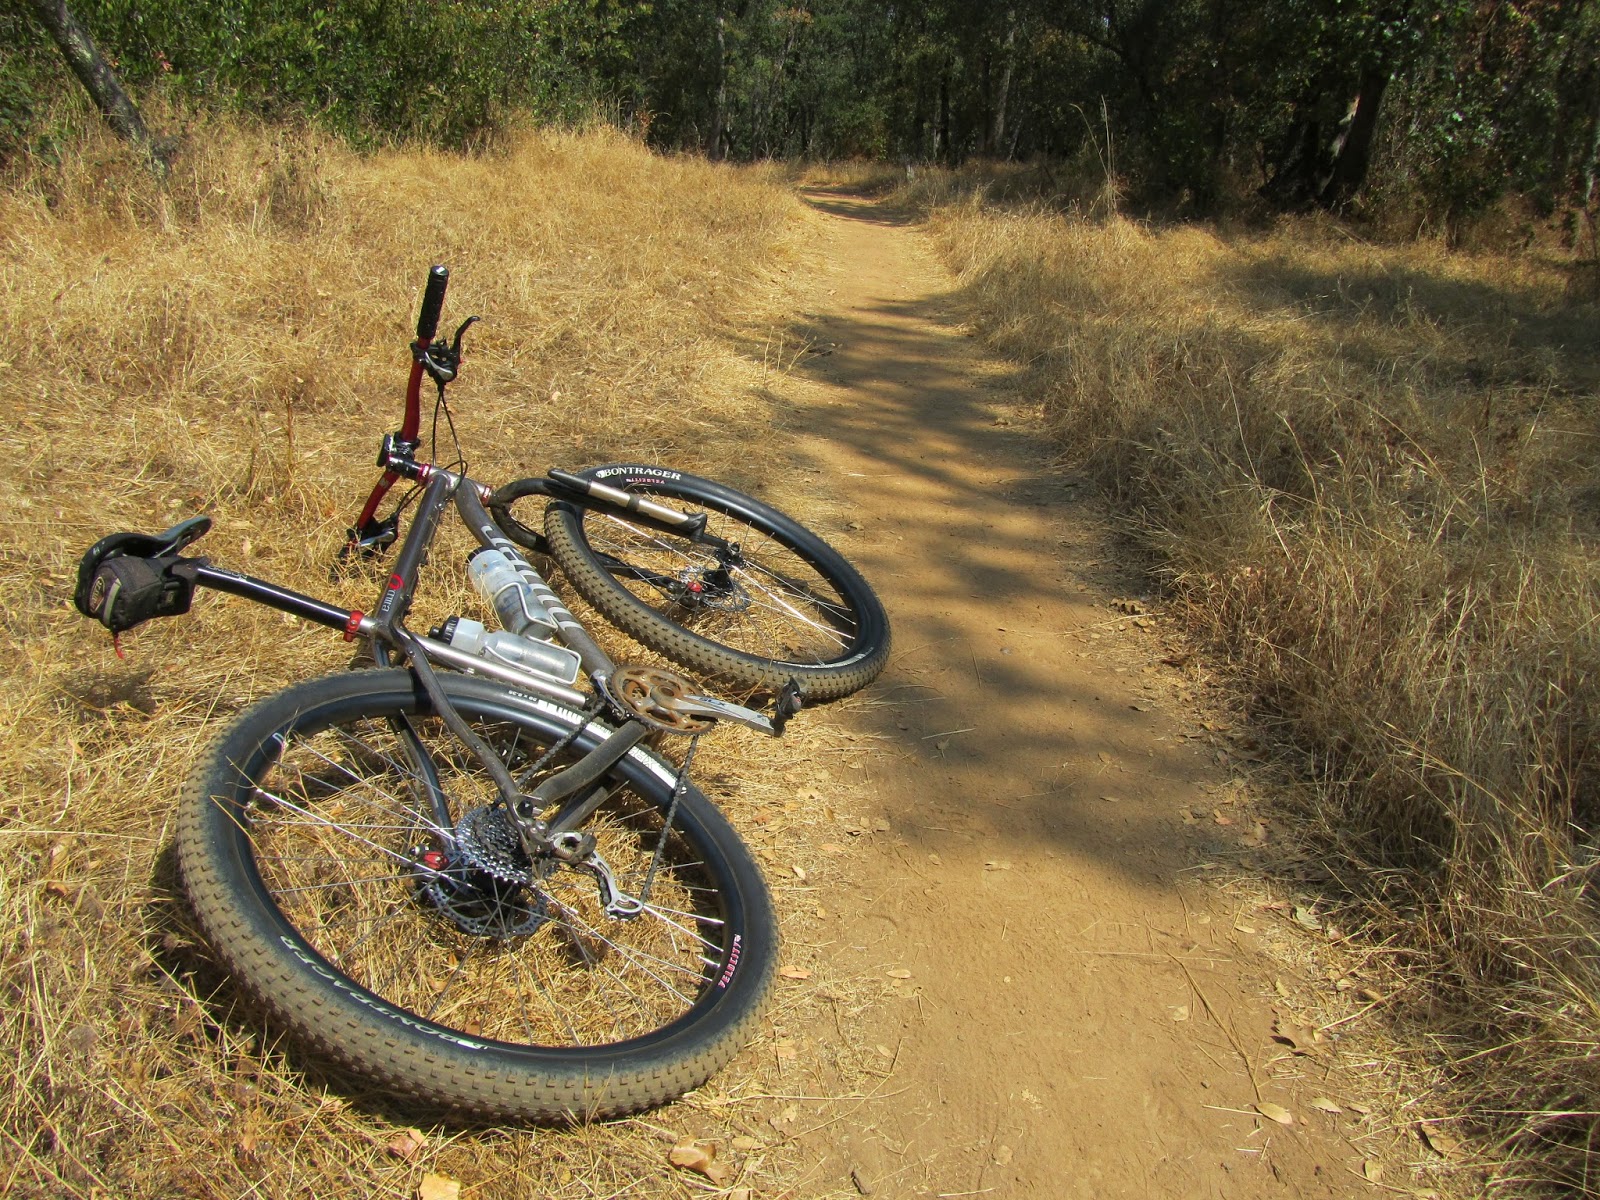
When I first built my Krampus in 2015, rim and tire options were limited. I went with Velocity Dually rims and Maxxis Chronicle tires. The tubeless setup was a nightmare, by far the worst I have ever encountered. It was so awful that I ran the same tires for almost five years even though I found them slow and heavy. At the time I though something in the 29x2.7 neighborhood would be the sweet spot for this bike.
The main setup issue was the rim bed diameter being a little small and/or the tires too large. I had to build up the rim bed with Gorilla tape and it was still a struggle to set the beads with the shop compressor.
Recently I finally decided to make a switch and purchased some 2.6 inch Teravail Cumberland Light & Supple tires. They sat for a while because I just didn't want to deal with the Velocity rims again.
I stumbled upon the Effetto Mariposa rim strips and thought they might be the ticket.
Out of the package the strips are dense and stiff, but somehow still very stretchy. The "M Plus" kit for 41-45 mm rims turned out to be a perfect fit on my Dually rims. Getting the strips on the rims is no easy chore; expect a pinched finger and a little cussing on your first rim. The second rim went more smoothly, but it's still like wrestling an octopus. A third hand would have helped.
Once installed both tires seated quickly and easily with a floor pump. The extra thickness was exactly what I needed.
A retail price of $38 for my kit may seem high. I have seen more than a few people compare this price to a $10 roll of Gorilla tape that can be used on many rims. But since you can easily drop twenty bucks on tubeless valves, I don't think $18 is too much to pay for an effective and reusable strip.
Later.
Showing posts with label Tubeless. Show all posts
Monday, February 03, 2020
Thursday, May 02, 2019
Failure
Well, Bike Month didn't start too well. Yesterday I had my first flat with a tubeless tire ever. I cut the tire on a rock and the hole was just too big to seal. She bled out and died right here:
I put in my spare tube, which has been in my seat bag for years, and it was no good. I had to stop and pump it up numerous times before it finally failed altogether.
I called the sag wagon and Jenn picked me up. Mileage total after day one: a whopping seven miles. It was a sticky, gooey, failure of an evening.
Later.
I called the sag wagon and Jenn picked me up. Mileage total after day one: a whopping seven miles. It was a sticky, gooey, failure of an evening.
Later.
Wednesday, October 25, 2017
Friends First
I took the Canfield out for a 35-mile ride today and had a great time. Finally.
When I first built the bike I liked it OK, but didn't love it. My main complaint was the steering never quite felt right. The front tire wanted to wash out in high-speed turns, leaving me a little nervous about committing to a long-term relationship. We agreed to remain friends and hook up whenever I wanted to ride a strange bike.
I rode the bike last week and it was OK. Fun and playful, but she still tried to throw me to the ground on occasion. Still, I thought maybe we could make things work.
Since building the Canfield I have dabbled with plus-sized tires on the Surly Krampus and DB Mason. On the Diamondback especially, I came to appreciate the combination of slack head angle and fat tire. The huge contact patch felt sure-footed, especially at very high speeds.
Because of my experience with bigger tires, I decided to replaced the Canfield's front wheel. The old one utilized a Mavic TN 719 rim, which measures a puny 19mm inside width. Even when paired with a relatively large Maxxis Ardent 2.4 tire, the result was less than confidence inspiring.
The rim was replaced with a Race Face ARC 35 which, as the name suggests, comes in at a 35mm width. Paired with the same Ardent tire, set up tubeless, the result is a much bigger tire. Huge in comparison.
A number of things happen with this setup. One, you get more air volume. This increase in volume and running tubeless allows you to lower the air pressure significantly. The wide rim also changes the tire's profile, putting more rubber on the ground.
The difference was amazing. I pushed the bike hard in corner after corner and it handled wonderfully. I am pleasantly surprised at how much difference a simple wheel swap could make. I don't want to get ahead of myself, but I think she could be the one.
So, a really great ride and fine way to spend my day off. I am looking forward to adding a matching rear wheel and riding this bike more often. I just hope she doesn't think we are exclusive now. I am a 10-bike kind of guy.
Later.
When I first built the bike I liked it OK, but didn't love it. My main complaint was the steering never quite felt right. The front tire wanted to wash out in high-speed turns, leaving me a little nervous about committing to a long-term relationship. We agreed to remain friends and hook up whenever I wanted to ride a strange bike.
I rode the bike last week and it was OK. Fun and playful, but she still tried to throw me to the ground on occasion. Still, I thought maybe we could make things work.
Since building the Canfield I have dabbled with plus-sized tires on the Surly Krampus and DB Mason. On the Diamondback especially, I came to appreciate the combination of slack head angle and fat tire. The huge contact patch felt sure-footed, especially at very high speeds.
Because of my experience with bigger tires, I decided to replaced the Canfield's front wheel. The old one utilized a Mavic TN 719 rim, which measures a puny 19mm inside width. Even when paired with a relatively large Maxxis Ardent 2.4 tire, the result was less than confidence inspiring.
The rim was replaced with a Race Face ARC 35 which, as the name suggests, comes in at a 35mm width. Paired with the same Ardent tire, set up tubeless, the result is a much bigger tire. Huge in comparison.
A number of things happen with this setup. One, you get more air volume. This increase in volume and running tubeless allows you to lower the air pressure significantly. The wide rim also changes the tire's profile, putting more rubber on the ground.
The difference was amazing. I pushed the bike hard in corner after corner and it handled wonderfully. I am pleasantly surprised at how much difference a simple wheel swap could make. I don't want to get ahead of myself, but I think she could be the one.
| Shiny new wheel before the abuse started. |
| Folsom Lake. |
| Near Dyke 8. |
| Here I am doing at least 60 miles per hour. |
| Here's the brand new bridge built for the Johnny Cash Trail. They did a great job. |
So, a really great ride and fine way to spend my day off. I am looking forward to adding a matching rear wheel and riding this bike more often. I just hope she doesn't think we are exclusive now. I am a 10-bike kind of guy.
Later.
Sunday, August 09, 2015
The Old Man and the Sea(lant)
I am pretty slow to adopt most new things in cycling. I rode with clips and straps for quite a few years. I used friction shifters long after index shifters hit the scene. I thought V-brakes worked just fine until fairly recently. And one look at all the bikes in the garage would lead you to say, "Hey, what's with all the rigid forks?"
I also resisted the tubeless tire. It just seemed like a lot of trouble to solve a minor problem. How difficult is it to change out a tube?
Eventually I come around to most new technologies (except press-fit bottom brackets). With a bumper crop of goatheads ripening on the vine, it was time to try tubeless. I bought a set of wheels utilizing Velocity Blunt 35mm rims. While these are not tubeless specific rims, people seem to have decent luck with them, and I wanted the added width for more tire volume. I bought some rim tape, valves and sealant, and got to work.
Everything went pretty smoothly. The only difficult thing was getting the beads set because my air compressor isn't very powerful. It was a little frustrating, but overall the process was much simpler than I anticipated.
My Bontrager 2.35 tires grew to almost 2.5 inches on the 35mm rims. On the road the flatter tire profile felt a little slower, but on the dirt they felt great. I ran 24/20 PSI, and even though this was 8 PSI lower than I normally run for mixed-terrain rides, the tires were still too hard.
One thing I noticed immediately was the lack of tire squirm going through corners. Solid. Wide rims are where it's at.
I was taught in my teens that the valve stem always lines up with the tire logo. Always. That's the "pro look" my mechanic mentors strived for. I have done it that way for over 30 years now without even thinking about it. The partially inflated tube goes in the tire, and the valve magically lines up with the logo. But on my first tubeless setup, I completely missed the boat. NOT pro.
On the second one I came to my senses and lined it up. VERY pro.
I am actually looking forward to the first goathead to see if my money was well spent.
Later.
I also resisted the tubeless tire. It just seemed like a lot of trouble to solve a minor problem. How difficult is it to change out a tube?
Eventually I come around to most new technologies (except press-fit bottom brackets). With a bumper crop of goatheads ripening on the vine, it was time to try tubeless. I bought a set of wheels utilizing Velocity Blunt 35mm rims. While these are not tubeless specific rims, people seem to have decent luck with them, and I wanted the added width for more tire volume. I bought some rim tape, valves and sealant, and got to work.
Everything went pretty smoothly. The only difficult thing was getting the beads set because my air compressor isn't very powerful. It was a little frustrating, but overall the process was much simpler than I anticipated.
My Bontrager 2.35 tires grew to almost 2.5 inches on the 35mm rims. On the road the flatter tire profile felt a little slower, but on the dirt they felt great. I ran 24/20 PSI, and even though this was 8 PSI lower than I normally run for mixed-terrain rides, the tires were still too hard.
One thing I noticed immediately was the lack of tire squirm going through corners. Solid. Wide rims are where it's at.
I was taught in my teens that the valve stem always lines up with the tire logo. Always. That's the "pro look" my mechanic mentors strived for. I have done it that way for over 30 years now without even thinking about it. The partially inflated tube goes in the tire, and the valve magically lines up with the logo. But on my first tubeless setup, I completely missed the boat. NOT pro.
On the second one I came to my senses and lined it up. VERY pro.
I am actually looking forward to the first goathead to see if my money was well spent.
Later.
Subscribe to:
Posts (Atom)