We rode at home on Monday morning and left around noon. By 4:30 we were checked in, unloaded and sipping a beer at Fieldwork. Good stuff.

After beers we ate at a place called Alejandro's on Alvarado Street. We walked right by this place for years and never tried it, and that was a mistake. The food was excellent. We started with the ahi ceviche (ceviche de atún), which was fantastic. The chips come with four sauces, all of which were great. I had the mole enchiladas while Jennifer had a vegetarian chile relleno (chile en nogada). Both were terrific. Highly recommended.
The next day we rode south along 17 Mile Drive. At 54 degrees, the weather dipped a bit below refreshingly cool into grab-a-jacket territory. The June Gloom is real.


Still, what's not to like riding along this scenery?


Later we went to the grocery store. Next to the store was this:

I haven't eaten at a Carl's Jr. in years, and I don't thing anyone will be eating at this one for a while. Burned to a crisp.
The next day we decided to head inland seeking sunshine. As we rode north along the coast, conditions were cool and overcast.

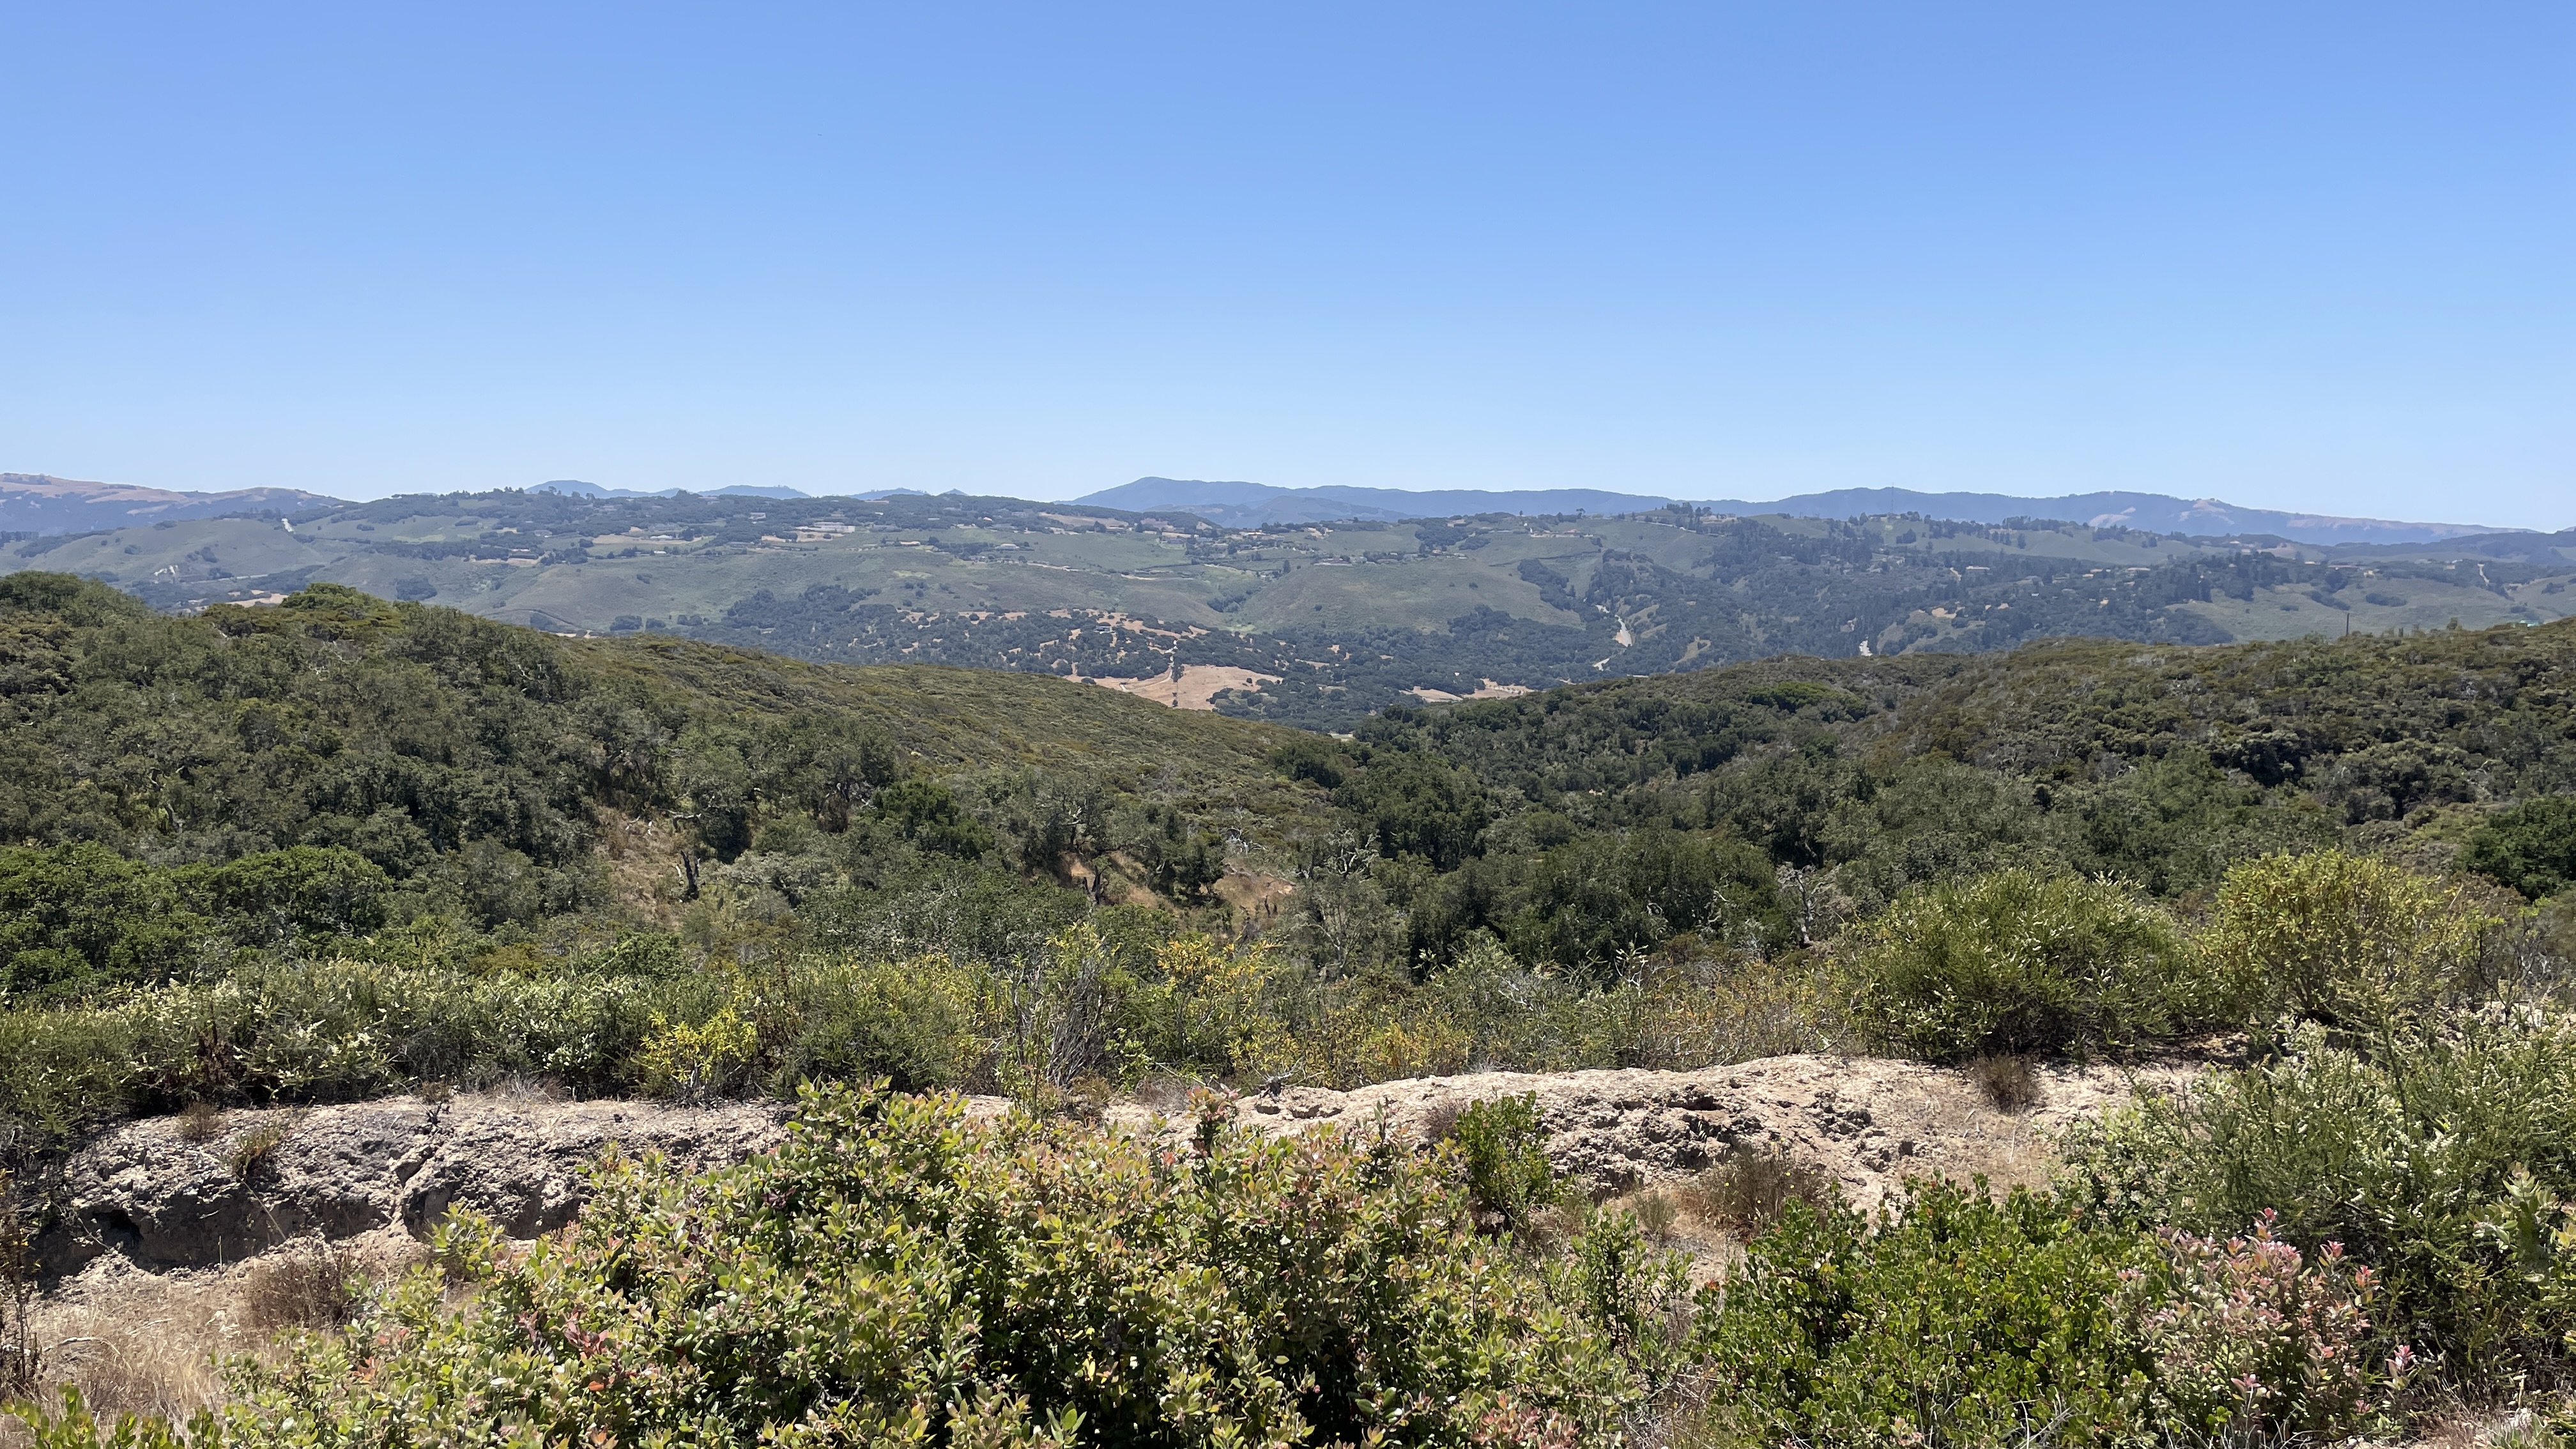
As we climbed into Fort Ord, the blue sky was teasingly close.

Eventually we climbed above the marine layer and it was glorious.

I had a new route mapped out, but we ran into some road closures due to the Army and BLM preparing for prescribed burns. Although it wasn't in the original plan, we climbed up to Laguna Seca once again. Jennifer handled it no problem.

The views from up top are great.
Then we descended back down into the gloom. All told we rode just short of 30 miles with over 2000 feet of climbing.

The next day we rode north to the end of the trail and back, a nice 25-mile ride. We did not see the sun even once. Nothing about the ride really inspired me to take a photo.
That night marked the return of Peter B's, a mainstay of our Monterey dining and beer experience for many years. The restaurant had been closed for four months during a $2 million renovation.
The restaurant itself looked great. The booths and walls were removed from the main dining area leaving it brighter and open.

Unfortunately that's where the improvements ended. The beer menu lacked anything I was really interested in, so I had a Legend of Laguna IPA, the only beer that's always on the menu. It typically falls somewhere between great and awful. (I was far more excited about my new Cal Poly shirt than the beer.)

I rarely complain about my food. I have a discerning palette, and appreciate great food, but I also realize I am not "great food rich." If you frequent breweries, you should be pleasantly surprised by great cuisine, but expect mediocrity. Still, a restaurant promoting an all-new menu should perform.
They did not.
Again, I am not a complaint person. However, they left a comment card with the bill, so I let them have it. I believe "bland, boring and uninspired" was part of my review.
Today we opted not to ride in favor of getting a jump on Friday traffic. Still, we hit a major slowdown on Highway 101 because of construction that cost us an extra 45 minutes of drive time.
Another nice getaway in the books, and some lessons learned: Try new things and be adventurous.
Later.

.jpg)


